menu

WebPlatform Documentation

View Report

View Report

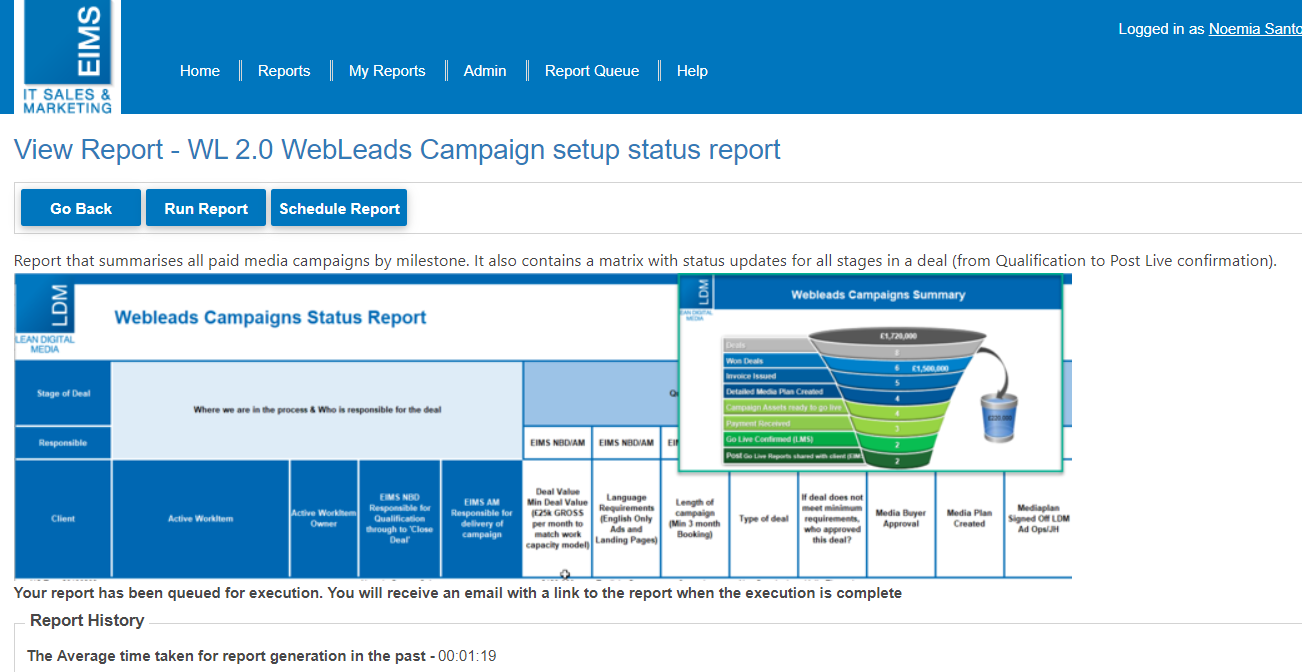
When you click to 'View Report' you will have a short summary of what this report will give you.

From this page you can also:

  • 'Run Report' which will queue your report for execution - it will then be visible/accessible to you under 'My Reports' and sent to your inbox.
  • navigate back to the report catalogue using the 'Go back' button
  • or schedule the report to regularly run at a time of your choice using the 'Schedule Report' button

What you'll see when you've run your report

There's a notification letting you know that your report has been queued for execution and how long the report takes to run on average. You'll receive an email with a link to it once it has run.

You'll also see the report history, that will give you an indication of the average time taken for report generation in the past.

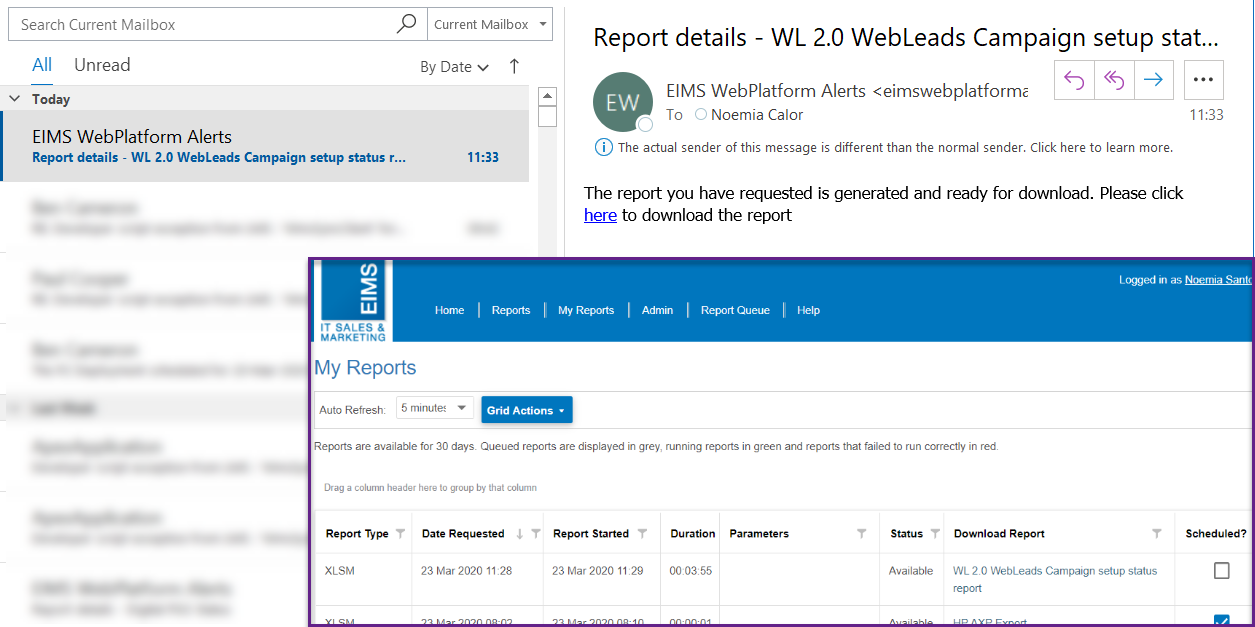
Where is the report you have run?

In your inbox there will be an email with a link to your report and you will also find the report in 'My Reports'

To schedule a report

Or add a new schedule

Before you create a new schedule always check with other users if a report is already scheduled (to avoid scheduling the same report umpteen times – we should be adding users to an existing schedule, not creating a new one)

If you have established that you can create a new schedule, then here are some guidelines for best practice:

  • Set schedule to run well in advance of the time you need to have the report at hand
  • Reports are run five at a time, so ideally you want to schedule your report to run in the early hours so that you have it in your inbox when you need it
  • Maintain your schedules (correct time / frequency if appropriate, add / remove additional users)
  • Pause if not required to run during your holiday or update so that the person you have handed the task over to is a recipient
  • Delete if no longer required
  • Update list of additional users (increase or decrease the distribution list based on your needs, you are automatically set to be a recipient of your scheduled report)

Select other users to receive the scheduled report

  • Click on 'Select Users' button
  • Go through the list and select users or search for them at the top of the grid
  • When you have selected everyone you want to  have in the distribution list, click OK
  • The text next to additional users will show the count of users you have selected
help_outline
close