My WorkItems - this displays the WorkItems which you are involved in / allocated to
My Teams WorkItems - this displays the WorkItems which your team members are involved in / allocated to
My Roles WorkItems - this displays the WorkItems which are related to your job role
My WorkItems page
In the My WorkItems page you are able to view all the WorkItems you are involved in / allocated to. You are also able to do the following:
Select the view you want to see your processes for
these can be: Active WorkItems, Active & Inactive WorkItems or Completed WorkItems
Filter by the date the WorkItem became active. You can filter by
Today - All WorkItems that have became active on the current day
Week - All WorkItems that became active in the current week
Custom Date - This produces a dialog box which allows you to enter a start date and an end date. This will display all WorkItems that became active within this date range.
All - Displays all WorkItems that are currently active.
Edit WorkItem - When you click on this icon you will be taken to the WorkItem form. You can then take your actions.
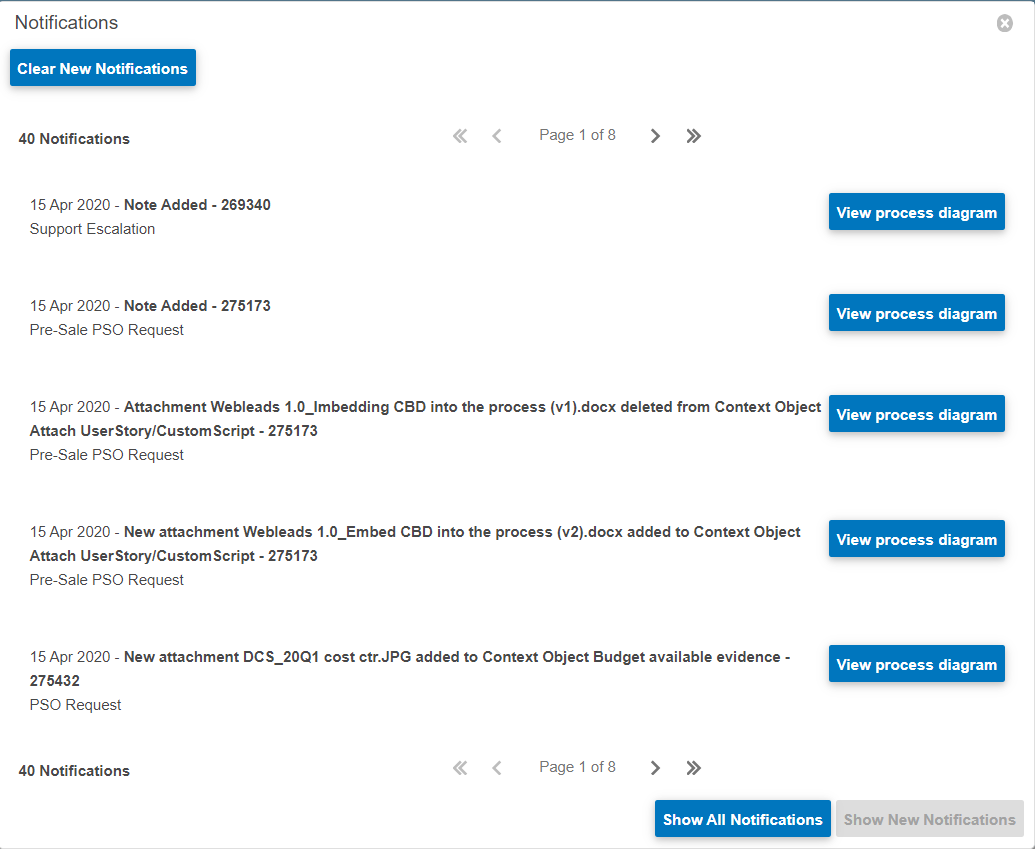
View Process Diagram - Clicking on this item will allow you to see the entire process. You can see at at glance what has already been done, where you are in the process and what still needs to happen.
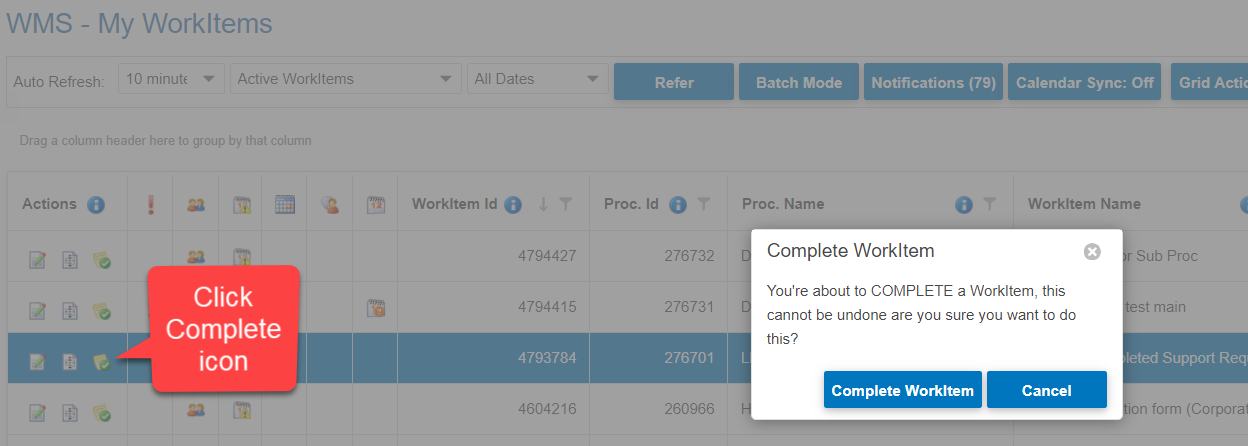
Complete WorkItem - This icon will allow you to complete a WorkItem without loading the form. If answers are required you will be prompted for these in order to complete.
Add New Process Note - Use this icon to add quick notes to the process. All notes will be visible in the 'Notes / Audit' tab for the process.
Overdue - If you see this icon for any WorkItem in your list it means your actions are late.
Edit WorkItem - When you click on this icon you will be taken to the WorkItem form. You can then take your actions.
View Process Diagram - Clicking on this item will allow you to see the entire process. You can see at at glance what has already been done, where you are in the process and what still needs to happen.
Complete WorkItem - This icon will allow you to complete a WorkItem without loading the form. If answers are required you will be prompted for these in order to complete.
Add New Process Note - Use this icon to add quick notes to the process. All notes will be visible in the 'Notes / Audit' tab for the process.